Sensei Paul Stewart Joins The Budo Institute

Paul-Stewart-Kendo-Profile
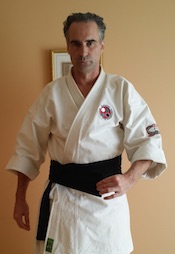
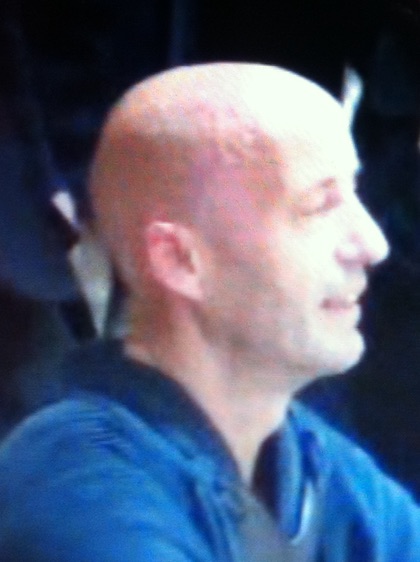
It is with great pleasure that The International Budo Institute announces that Sensei Paul Stewart has joined as Instructor of Kendo. Sensei Paul is a member of Sumida ku Renmei in Tokyo and has reached 2nd dan in Kendo (2017) and the same year 1st dan in Iaido in the Seitei style of the All Japan Kendo Federation, while also being introduced to Muso Shinden-Ryu. He trains regularly with local Sensei and is very much a part of the budo community of the area participating in tournaments and gatherings. Sensei Paul holds a Diploma in Sports Studies from Otago University, New Zealand. He has invested in various ongoing opportunities particularly related to the field of conscious awareness and deliberate creating. With a wealth of rich experience, Paul enjoys the freedom of choosing a perspective, trusting one’s true nature and of course, being one’s self. Sensei Paul is an active writer and speaker.

View Sensei Paul Stewart’s Extended Biography Here

Paul-Stewart-Kendo

VIDEO: For The Love Of Japanese Swords

An interesting video by the BBC and Discovery Canada discussing the important aspects of sword polishing and the years it takes to master the art.


Ukenagashi Practice

Ukenagashi is one of the most important drills in Kenjutsu and Iaido. Some say that if there is only one thing to learn in Kenjutsu this is the drill. With a strong Ukenagashi one can go out on the battlefield and parry and strike the opponent.

As the videos show one can practice Ukenagashi from the left, right or both sides as well as with alternating stance. The important thing to remember is to take your time and master the form. Speed is not important. Concentrate on the flow of the motion.

The Ukenagashi technique can be performed from a horsestance, naihanchin dachi, or frontstance, zenkutsu dachi. Also, important is not to lean forward too much, though from both stances a slight lean forward is acceptable. Make sure that when you raise your hands above your head that you can see your opponent from under your arms. Make sure that the katana or iaito is positioned properly at the shoulder in order to protect from the cutting blade of the opponent. Safeguard against sticking out your elbows or bending your back too much. Take precaution not to open your hands on the grip when performing the technique. Your grip should be firm but not tight and obviously not too loose. Lastly when completing the Shomen Uchi cut make sure to come down straight and to stop without pointing the Kisaki “point of the sword” to the ground. The Kisaki should be pointed at the face of the opponent.


How To Tie And Wear Your Iaido Belt

Naturally, it is important to know how to properly tie your Iaido belt (Obi) in order to wear the Iaito (practice sword) correctly. The following is a tutorial on how to wrap, tie and adjust your Iai belt for either Iaido or Kenjutsu practice. For Iaido and Kenjutsu you should wear the Hakama (pleated skirt/pants). At the Institute, we do not wear the Karate style belts when wearing the Hakama as they often do in Aikido practice. There is a separate tutorial on this website on how to wear and tie your Hakama.

Step 1: Prepare Your Iai Obi.


Step 2: Unfold Your Iai-Obi. The Obi for Iaido is very long and will wrap around your body several times.


Step 3: Fold in half a strip of about 12 inches (30 cms) at the beginning of the belt. The exact length is not important.


Step 4: Place the Obi against your stomach maintaining the halved piece in your right hand.


Step 5: Feed the belt around your torso keeping the belt flat with the entire width of the belt against your body.


Step 6: When reaching the front pass the belt UNDER the halved portion of the belt in your right hand. A standard length belt should make two two full rotations around your body.


Step 7: After the second turn you should have an extra piece of the belt. This piece can be of varying lengths depending on your waist size and the length of the belt.


Step 8: Place your thumb in the center of the extra piece and prepare to fold it inward towards your body.


Step 9: Fold the belt inwards so that the inside piece catches under the belt and is held firmly in place.


Step 10: The belt is now firmly around your torso with the halved piece from the beginning hanging over the doubled up end piece.


Step 11: Place the wider belt portion over the halved piece from the beginning.


Step 12: Feed the wider portion of the belt under the halved portion and pull upwards. The knot is beginning to form and looks like a flat triangle.


Step 13: Fold the halved potion of the beginning of the belt upwards in a 45 degree diagonal.


Step 14: Place the wide portion of the belt over the halved portion and draw the wide portion under and halved portion. Draw the wide portion of the belt through to complete the knot.


Step 15: Pull firmly on both ends tightening up the knot.


Step 16: Hold both sides of the belt in preparation of spinning the knot to the center of your back.


Step 17: Rotate the belt around to the center of your back.


Step 18: Your Obi is now in place and you may put on your Hakama in preparation for practice.